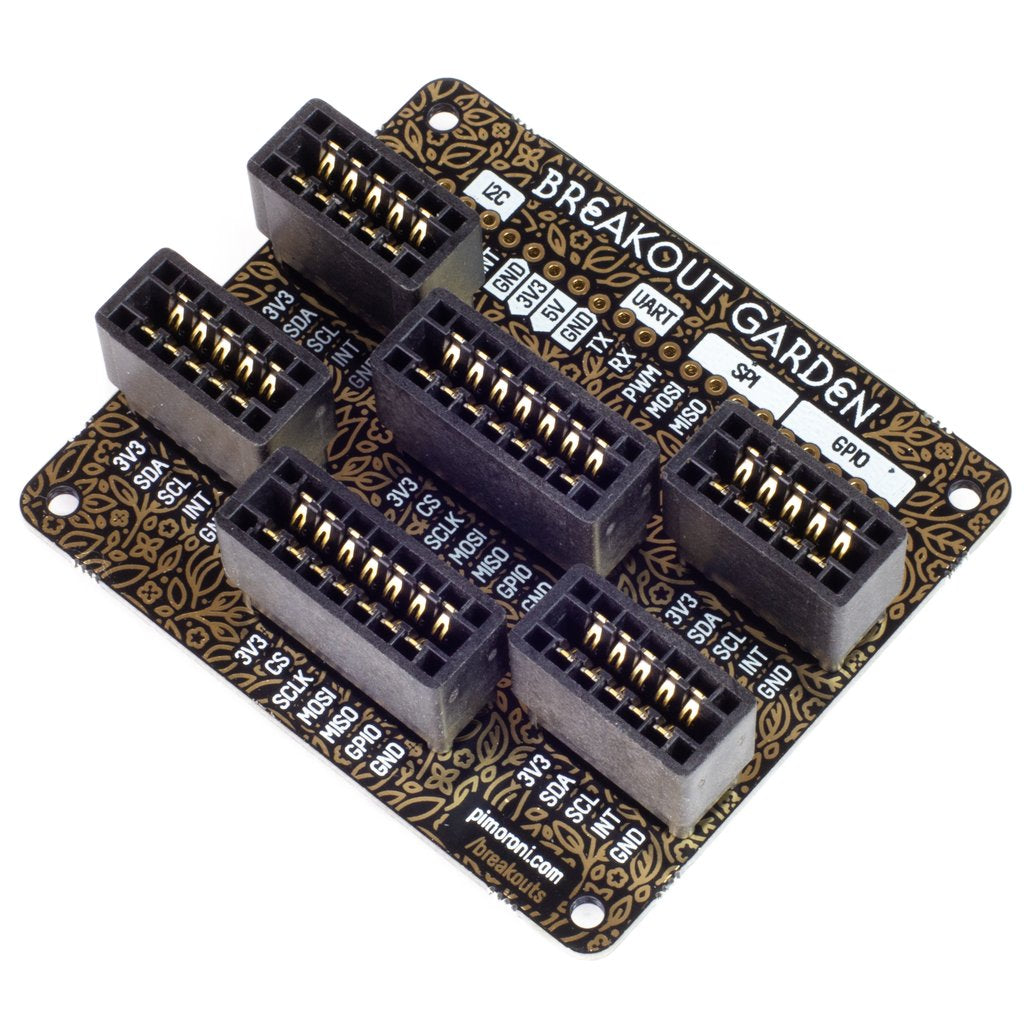
Now with SPI! Grow your projects on Breakout Garden. It's the easiest way to use breakouts with your Raspberry Pi. There's no soldering required, just pop up to six Pimoroni breakouts (4xI2C, 2xSPI) into the slots on Breakout Garden and get started coding and creating.
It's ideal for prototyping projects without the need for complicated wiring, soldering, or breadboards, and you've always got the option of changing your setup thanks to the way that Breakout Garden works.
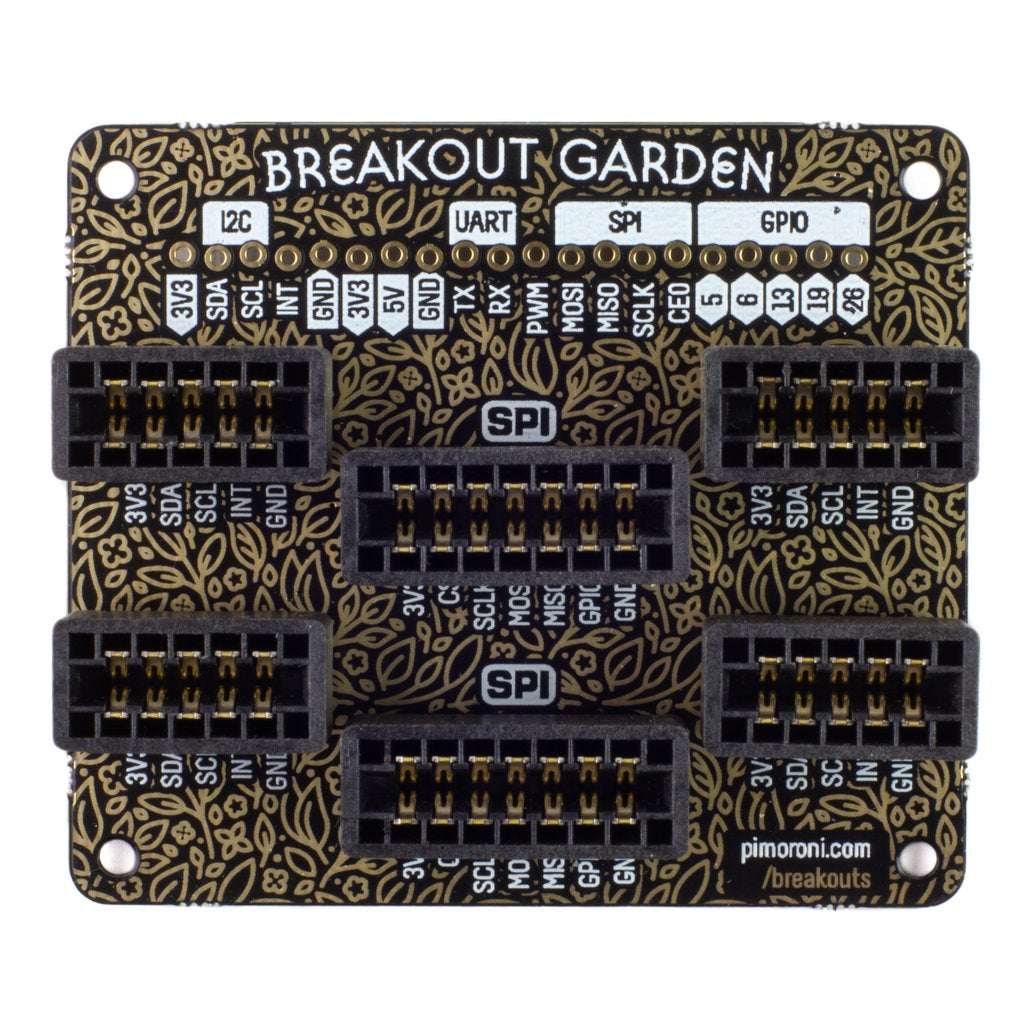
The six sturdy slots on Breakout Garden are edge connectors that connect Pimoroni breakouts to the pins on your Raspberry Pi. This new version of Breakout Garden has two SPI slots for Pimoroni SPI breakouts like our 0.96" LCD Breakout.
It's also got four I2C slots for Pimoroni I2C breakouts. Because I2C is a bus, you can use multiple I2C devices at the same time, providing they don't have the same address (we've made sure that all of our breakouts have different addresses).
We've also broken out a load of useful pins along the top of Breakout Garden, so you can connect other devices and integrate them into your Breakout Garden projects. If you have Pimoroni breakouts to which you've already soldered headers, then you can use this top row of pins to use them alongside other breakouts on Breakout Garden.
Features
- Six sturdy edge-connector slots for Pimoroni breakouts
- 4x I2C slots (5 pins)
- 2x SPI slots (7 pins)
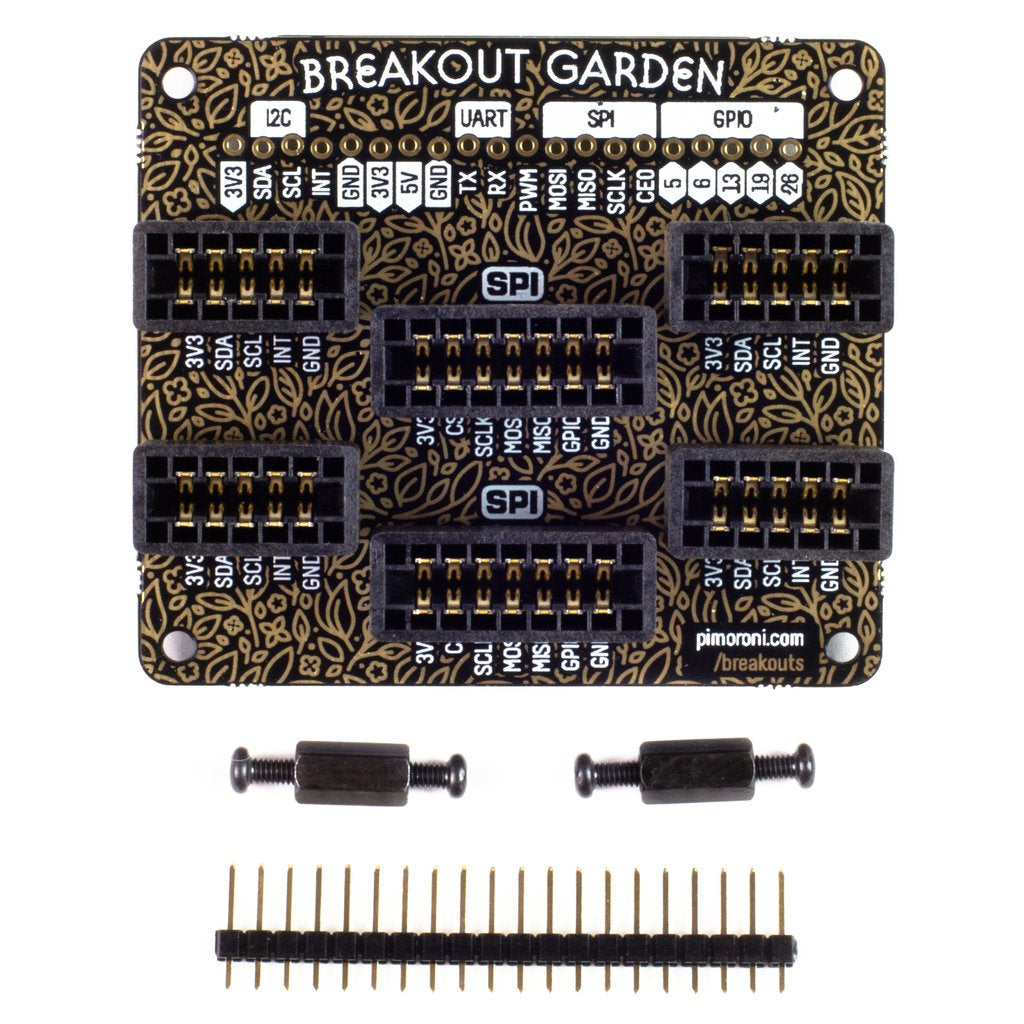
- 0.1” pitch, 5 or 7 pin connectors
- Broken-out pins (1x10 strip of male header included)
- Standoffs (M2.5, 10mm height) included to hold your Breakout Garden securely
- Reverse polarity protection (built into breakouts)
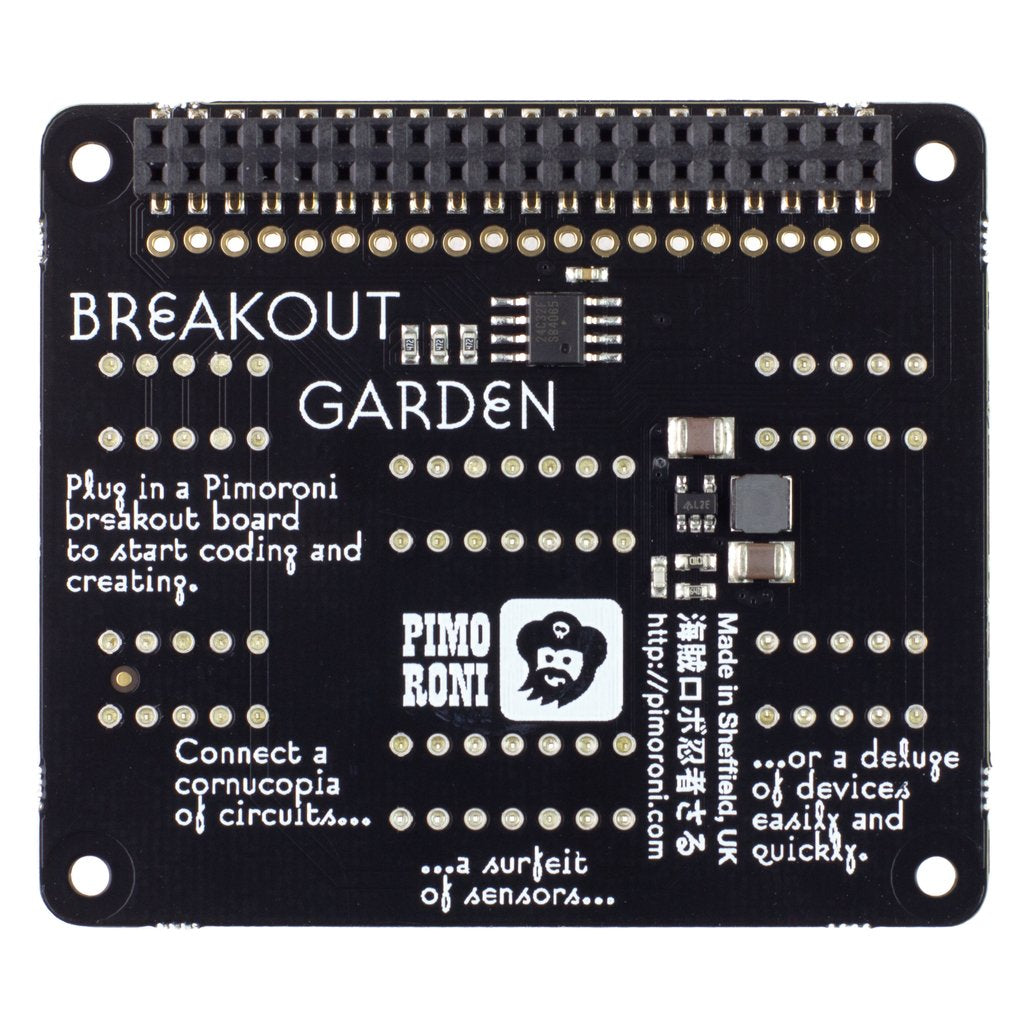
- HAT format board
- Compatible with Raspberry Pi 4 B, 3 B+, 3, 2, B+, A+, Zero, and Zero W
Using Breakout Garden
We'd suggest using the included standoffs to attach Breakout Garden firmly to your Raspberry Pi. Pop the screws through the mounting holes on your Raspberry Pi, from below, and then screw the standoffs onto the screws. Push Breakout Garden onto your Pi's GPIO pins, and then screw through each mounting hole into the standoffs to hold everything steady and secure.
Because of the way that I2C (the protocol that Breakout Garden uses) works, it doesn't matter which slot on Breakout Garden you plug your Pimoroni breakout into. Each I2C device has an address (you'll see it on the back of each breakout) that it uses to identify itself to other I2C devices, so it's effectively saying to your Raspberry Pi, "Hey, it's me, Bob!"
SPI is a faster, higher-throughput protocol for talking to devices like displays. The two SPI slots have different chip select (CS) and GPIO pins that you should change in software, depending on which slot you're using.
The top/back slot (closest to the Breakout Garden logo) uses chip select 0 (BCM 8) and BCM 18 for the GPIO (used for things like LCD backlights) pin. The bottom/front slot uses chip select 1 (BCM 7) and BCM 19 for the GPIO pin.
We've built reverse polarity protection into our Pimoroni breakouts, meaning that there's no magic blue smoke if you accidentally plug one in the wrong way round. However, the correct way to plug them in is to make sure that the labels on the pins on your breakout and the labels on each Breakout Garden slot match up.
Software
Head over to the Breakout Garden GitHub repo and give our automagic installer a go. Just pop a few breakouts into Breakout Garden, run the installer, and SHAZAM!, the software for the appropriate breakouts will be installed (this won't work for SPI breakouts). We've also got a few nice examples to show you what's possible.
Here's a few other project ideas to get you thinking:
- A laser tape measure with VL53L1X Time of Flight Breakout and 1.12" OLED
- An environmental display with BME680 Breakout, BH1745 Luminance and Colour Sensor Breakout, and 1.12" OLED
- A really sophisticated presence detector with MLX90640 Thermal Camera Breakout, LSM303D 6DoF Breakout, and the BH1745 Luminance and Colour Sensor Breakout